Customer Panel
How to give access to your customers to the Customer Panel
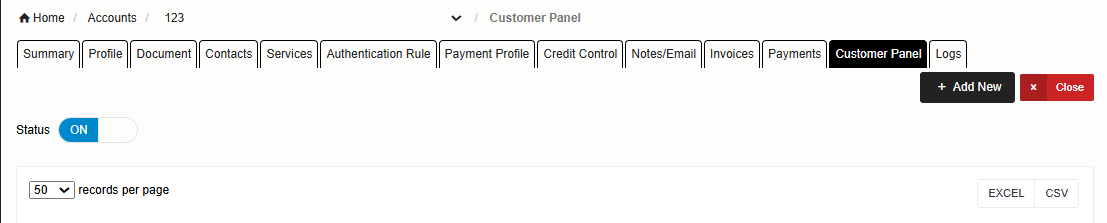
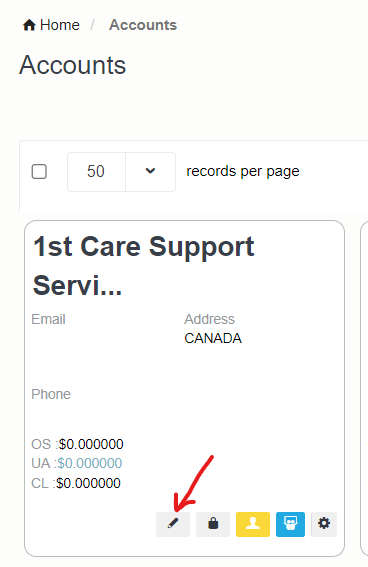
• Click on edit option from the account on the list, and you will see the Customer Panel option added here.
• From there, click on Customer Panel, and then click on Add New
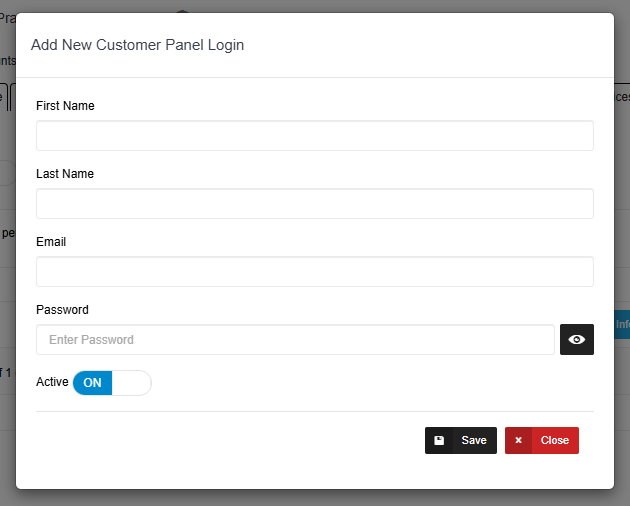
• A Pop-up will Appear for Add New Customer Panel Login Details
• Fill in the required customer information and click the Save button to proceed
• Once a customer is created, you’ll see four options under the Action column:
Edit : Click this to update any customer details like name, email, status, etc.
Delete: This will remove the customer from the account.
Send Email: This button sends the customer panel login details to the customer’s email address.
Login to Customer Portal: This button lets you (admin) log in directly into the customer portal.
• The customer portal is multi-lingual, so the interface can be viewed in different languages based on user preferences.

How to hide widgets or a menu option from customer portal?
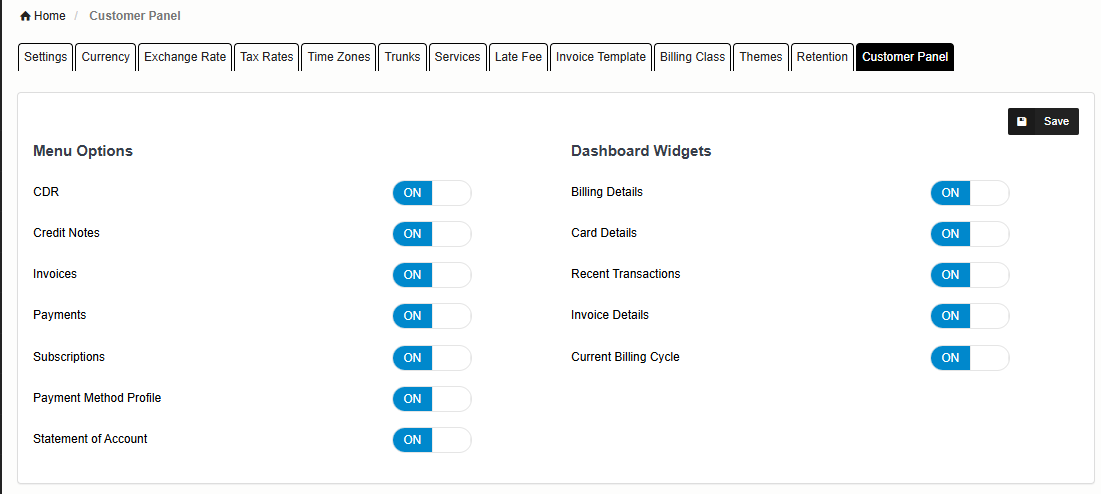
• If the Admin wants to hide certain widgets from the customer panel’s dashboard or sidebar, they can do so by navigating to the Settings screen, selecting the Customer Panel tab, turning off the desired widgets, and clicking Save.
How to Use the Customer Panel?
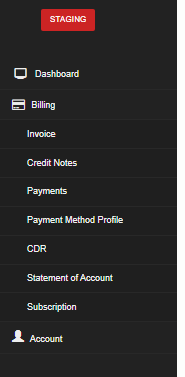
After logging into the customer panel, the user will be directed to the Dashboard page. A sidebar will also be visible, which contains the following options:
Edit Profile
Clicking on your account name will reveal an Edit Profile option, which redirects you to the profile edit page where you can update your personal and account information.
Account Details
Here in the Account Section, there are three main widgets.
• The Account Details widget will include information such as the Name, Phone Number, Account Name, Currency, Description, Billing Email, and more.
• The second widget is Address Information, which will display the address details for the respective account.
• The third widget is Contacts, which displays all the contacts associated with the specific account.
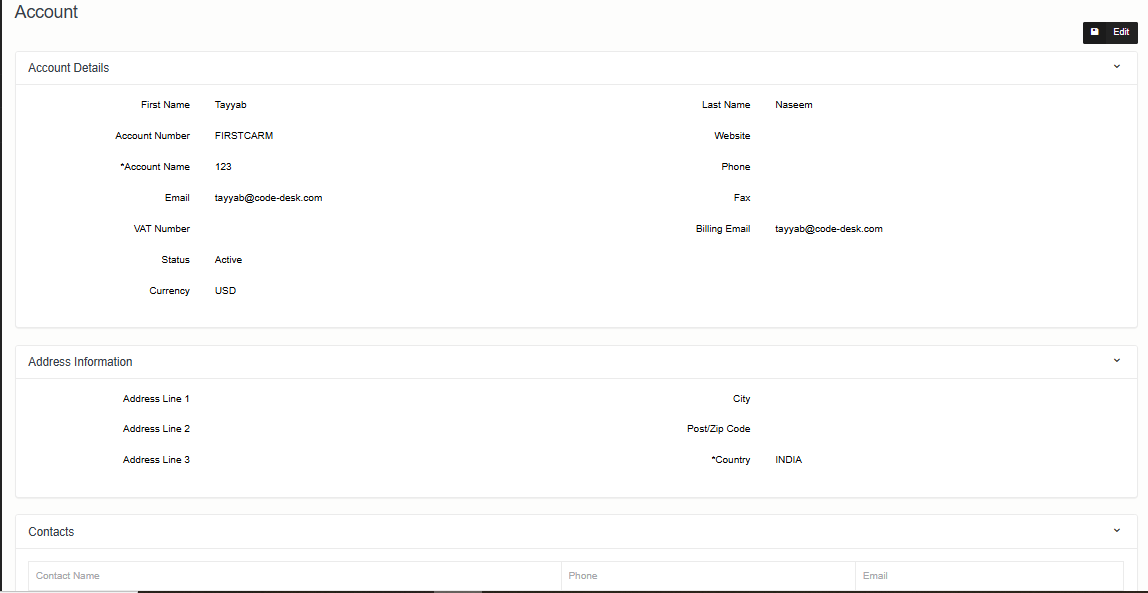
Above the top right corner of the Account Details widget, there is an Edit button. Clicking this will take the user to the Address Information page, where they can update their billing address.